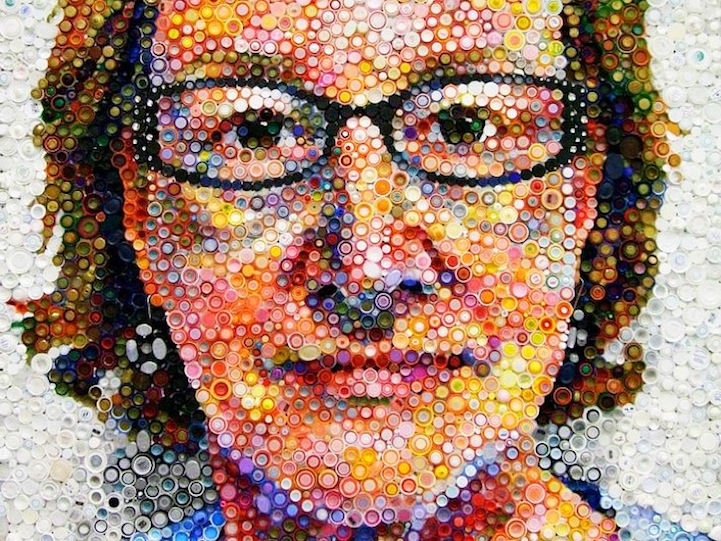
Marilyn Monroe Melted Crayon Art Tutorial
Marilyn Monroe Melted Cryaon Art Tutorial
What You’ll Need:
~ Computer
~ Printer
~ Kinkos
~ Exacto Knife
~ 1 Inch Masking Tape
~ Crayons
~ Hair Dryer
~ Rectangular Canvas
~ Large Piece of Cardboard
~ Pencil & Eraser
~ Paint Brush
~ White Acrylic Paint
~ Photoshop or Image Editing Tool
How To Make:
1~ Go to your computer and google search images of the celebrity you want on your crayon art. Drag and drop the image onto your desktop and open it in Photoshop.
2~ Go to Hue/Saturation and make your image black and white. Then go to your filter gallery and choose the “Cutout” filter. Make sure that the sliders that represent Number of Levels, Edge Simplicity, and Edge Fidelity are at 2. Save the image and print it.
3~ Take your your print to kinkos and enlarge it so that it will fit nicely onto your canvas. This will cost about $3-4 depending on the size of your canvas.
4~ Take your enlarged copy home and place on your cardboard workspace. Using your “handy dandy” exacto knife, remove the black areas from the large copy by tracing along the outside of each black section .This is going to create a stencil for your piece.
Note~ You may have sections that disconnect from the rest of the stencil. In order to keep everything in place, leave small paper “connectors” , connecting one piece to the other.
5~ Take your stencil and center it on your canvas. Tape the edges down so the stencil doesnt shift as you trace it on the canvas.
6~ Using your pencil, lightly trace along the inside edge of your stencil to create an outline of your picture on the canvas. Make sure your outlines aren’t too dark, they should be just dark enough to see. Remove any dark lines with an eraser.
7~ Once you’ve completely traced your picture, grab your one inch masking tape and exacto knife. Place a small piece of tape just along the outline. Take your exacto knife and VERY LIGHTLY trace along the pencil outline . Remove the extra tape on the area you will be coloring. Go one piece of tape at a time, each time trimming the curves. Do this for the entire picture.
8~ Fill in all of the areas you want to protect with masking tape or painters tape.
9~ Pick out the colors you want to use, and pick three or four shades of each color to create a cool watercolor like effect. If you haven’t already shelled your crayons, do it now.
Note~ Your shades should consist of a dark, medium, and light shade of each color.
10~ Ok! Now its time to start melting.Heat your crayon away from the canvas by blowing hot air across it until it’s nice and melty. If you heat your crayon too close to the canvas, you can melt your painting.
Apply the melted crayon to the canvas by rolling it between your fingers while touching the canvas… All while continuing to apply heat with the blowdryer. (The melted portion of the crayon should literally be rolled onto the canvas) The wax will roll right off of the crayon and onto the canvas. If you want to deepen the color continue to do this until you reach your desired saturation.
Note ~ Always keep your heat on Hot, but change the speeds (High, Low) to spread the wax in different ways. Low is useful to apply more wax and build texture, and high is best used for spreading the color or thinning. Also, you can use the “cool” or “cold” setting on your blow dryer, It will cool the wax instantly and it really helps with control.
I start with a darker shade as my base. Be sure to lather a large amount of crayon on there, and move it with the heat of your hair dryer. Then I add a lighter shade and do the same thing. This will give it a bit of a watercolor look. Once you start to play, you’ll get a feel for what works best for your design.
12~ Starting from the outside edges, carefully remove the tape. There may be some crayon crumbles as you remove the tape. Blow it off, don’t brush it off!
Note ~ Use your exacto knife to help lift stubborn tape edges. This will help with removing the tape covered in wax
13~ If you happen to have wax and melted tape gunk along the edges, grab some white acrylic paint and a small paint brush. Carefully apply the paint along the edges. I applied white paint to all of the exposed areas of my piece to preserve the canvas. The canvas will start to yellow over time if you don’t paint it.
Note~ You may have to apply a few coats to cover up the color.
14~ Once you have your edges crisp and clean, you can hang it and enjoy!
Related Articles
Subscribe now
Get lasest updates in your inbox