How to Make Polymer Clay Charms
There is no end to the amazing things you can do with polymer clay. It has great scope in jewelry-making and here we are making simple clay charms that you can wear as a pendant or attach with your charm bracelet.
Tools and Supplies
The basic material you will need is, of course, some polymer clay. I prefer the white and cream varieties as I can color them any way I want to. You can use some colored clay though, it will save you the step of painting your charms. You may also use some dark colors in combination with a light shade, and make flowers and stars to add at the top. Other things required include:
- Acrylic paint (you can use multiple shades, but make sure to choose colors that contrast well with each other)
- Letter stamps to shape your charms (for different designs, I use various things, from buttons and shaped plastic toys to small chocolate molds and even patterned rings/earrings)
- Toothpicks
- Baking sheet (preferably parchment lined)
- Paper towel
- Paintbrush (preferably round brushes)
DIY Instructions
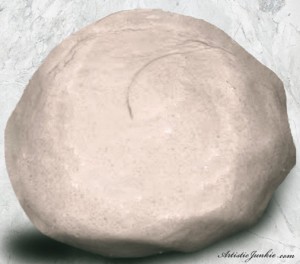
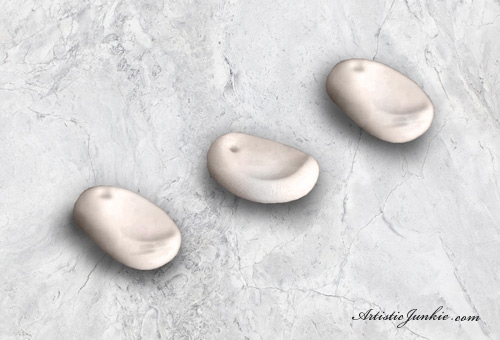
Step 1: First, work the clay for a couple of minutes to soften it, as you would for making anything with polymer clay.
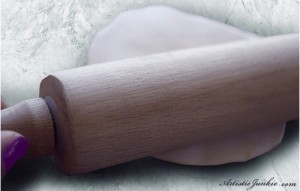
Step 2: Now, roll out the dough (take care not to make it too thin) and use something like a bottle cap to cut small round pieces. For the square charms, I used a paper knife to cut the rolled out clay into square blocks. You may also simply use your hands to give the desired shape to your charms.
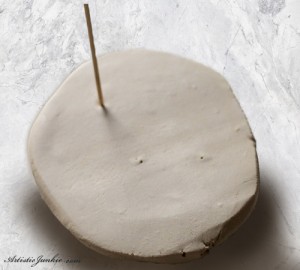
Step 3: This is important, take the toothpick and make a hole at the top of each charm.
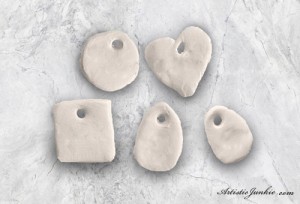
Step 4: Now, this is the part I love: stamping the charms. Stamp each piece with the letters to form any word you may want to. Your kids would also love to spell out their names or initials on their own personalized charms. Plastic toys or chocolate molds allow you to make charms with shapes like flowers, stars, and butterflies.

Fingerprint charms are an amazing idea as well, where you only need your little angels to press their fingers into the soft clay so the prints can be baked and saved as a souvenir.
Step 5: Place the charms on the baking sheet and bake as per the directions on the box of the clay. I baked mine for around 25 minutes at 275°F.
Step 6: Once they come out of the oven, nice and hard, let them cool down before you can move on to the next step, which is adding color to your charming charms. Here, as I have used white and cream clay, I can directly move to coloring the charms with the shades I want to use. In case you are using some dark colored clay, you will need to color it with white or some other light paint before adding the colorful details. Also, I prefer to use a sandpaper to smoothen the surface a little before coloring. It helps the color to sit well. However, make sure not to make it too smooth or you will lose the rustic look.
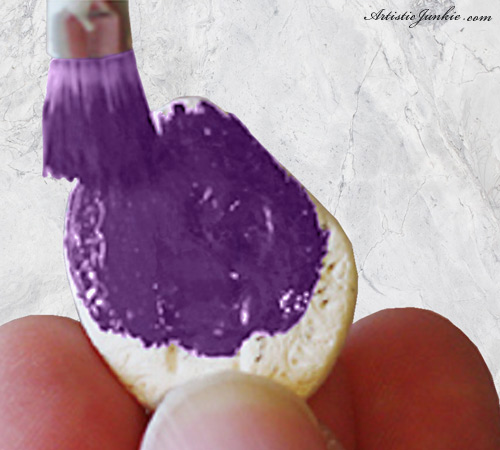
Use a large brush (size 14/16) for the base color, using some paper towel to soak off any extra paint. Let the paint dry.
Step 7: Now, to make the charm look a bit rustier, I use some more sandpaper to rub off some of the colors. You may also use a wet sandpaper to make the color even lighter.
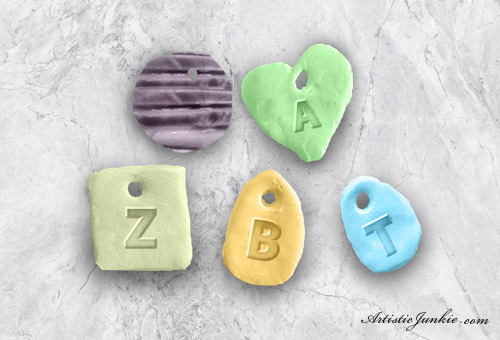
Your charms are ready. You can now try your artistic ideas to make unique charms using glitters, beads, and metallic paints. I like to add the glitters before the paint dries (in that case, I don’t use the sandpaper afterwards). For multiple colored charms, use a size-2 round paintbrush to add the details once the base color is completely dry.
Related Articles
Subscribe now
Get lasest updates in your inbox